

Thinking about putting solar panels on your roof? It’s not as hard as you might think, but there’s a lot to consider. From figuring out if your roof gets enough sun to choosing the right equipment, each step is important. Whether you’re doing it yourself or hiring a pro, understanding the process can save you time and money. Let’s break down what you need to know about fitting solar panels to your home.
Key Takeaways
- Check if your roof is good for solar by looking at its size, shape, and how much sun it gets.
- Do an energy audit to see how much electricity you use and decide the right size for your solar system.
- Pick the right type of solar panels, inverters, and batteries to match your needs and budget.
- Understand the steps for installing solar panels, whether on the roof or the ground, and remember safety first.
- Learn about connecting your system to the grid and what permits or inspections are needed.
Understanding Your Home’s Solar Potential
Assessing Roof Suitability
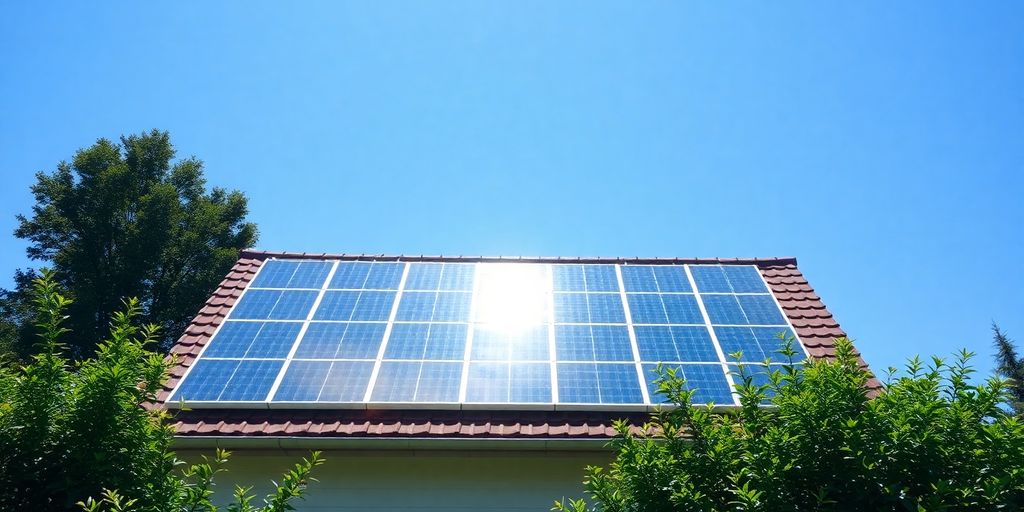
Before diving into solar panel installation, it’s crucial to figure out if your roof can handle it. A roof that’s in good shape and has the right angle can make all the difference. Start by checking the roof’s age and condition. If it’s too old or damaged, you might need repairs first. Then, look at the roof’s orientation. South-facing roofs are best, but east and west can work too. Finally, consider the roof’s tilt. Ideally, it should be between 15 and 40 degrees for maximum efficiency.
Evaluating Sunlight Exposure
Sunlight is the bread and butter of solar panels. You need to know how much sun hits your roof daily. Use tools or apps to track sunlight patterns over a few days. Watch out for shade from trees or other buildings, as they can cut down on the energy your panels produce. If your roof gets less than 4 hours of direct sunlight a day, solar might not be the best option.
Considering Local Climate
The weather in your area plays a big role in solar panel effectiveness. If you live somewhere with lots of cloudy days, your panels might not work as well. However, they can still generate power on overcast days, just less than on sunny ones. Also, think about extreme weather conditions. Heavy snow or wind can damage panels, so make sure they’re installed securely. In some places, you might need extra support or protection against the elements.
Taking the time to understand your home’s solar potential can save you money and hassle in the long run. It’s all about making sure your home is ready to harness the sun’s power efficiently.
Preparing for Solar Panel Installation
Conducting a Home Energy Audit
Before you jump into the world of solar, take a moment to understand how much energy your home actually uses. A home energy audit can uncover areas where you might be wasting power. This is crucial because the less energy your home needs, the fewer solar panels you might require. Check out your appliances, insulation, and even your daily habits. Maybe your fridge is running overtime or those old windows are letting out all your cool air. Fixing these can lower your overall energy consumption, which means you might not need as big a solar setup.
Choosing the Right Solar System Size
Once you have a grip on your energy usage, it’s time to figure out what size solar system you need. This isn’t just about slapping some panels on the roof. You need to consider your roof’s size, the angle, and how much sunlight it gets. Think about your future needs too. Planning to buy an electric car? That might bump up your energy demand. A good rule of thumb is to aim for a system that can cover at least 80-90% of your annual energy usage.
Budgeting for Installation Costs
Solar panels are a big investment, but they can pay off in the long run. Start by getting quotes from a few installers. Don’t just look at the price tag; check what’s included. Some might offer warranties or maintenance services. Also, dig into local incentives or federal tax credits that could lower your costs. Create a budget that includes not just the panels, but also potential roof repairs or upgrades, permits, and any other surprise expenses that might pop up.
Selecting the Right Solar Equipment
Types of Solar Panels
When it comes to solar panels, you have a few options to consider. The most common types are monocrystalline, polycrystalline, and thin-film panels. Monocrystalline panels are known for their high efficiency and sleek appearance. They are made from a single crystal structure, which allows them to convert sunlight into electricity more effectively. Polycrystalline panels, on the other hand, are made from multiple crystal structures and tend to be less efficient but more affordable. Thin-film panels are lightweight and flexible, making them suitable for unconventional surfaces, but they generally have lower efficiency compared to the crystalline types.
Here’s a quick comparison of the three:
| Type | Efficiency | Cost | Appearance | Durability |
|---|---|---|---|---|
| Monocrystalline | High | High | Sleek | High |
| Polycrystalline | Medium | Medium | Bluish | Medium |
| Thin-film | Low | Low | Flexible | Low |
Inverter Options
Inverters are essential for converting the direct current (DC) produced by your solar panels into alternating current (AC) that your home can use. There are three main types of inverters: string inverters, microinverters, and power optimizers. String inverters are the most common and cost-effective, suitable for installations where panels receive uniform sunlight. Microinverters are installed on each panel, offering more flexibility and better performance in shaded conditions. Power optimizers, like microinverters, are also attached to each panel but work with a central inverter to optimize energy production.
Battery Storage Solutions
Adding battery storage to your solar system can help you store excess energy for use during cloudy days or at night. Lithium-ion batteries are the most popular choice due to their efficiency and decreasing costs. Lead-acid batteries are another option, typically cheaper but less efficient and with a shorter lifespan. When selecting a battery, consider its capacity, lifespan, and warranty. Having a battery can also provide backup power during outages, adding an extra layer of security to your home.
Picking the right solar equipment is like piecing together a puzzle. Each component plays a crucial role in how well your system performs and how much you save in the long run. Take the time to understand your options, and don’t hesitate to ask your installer for advice.
The Installation Process Explained
Roof Mounting Techniques
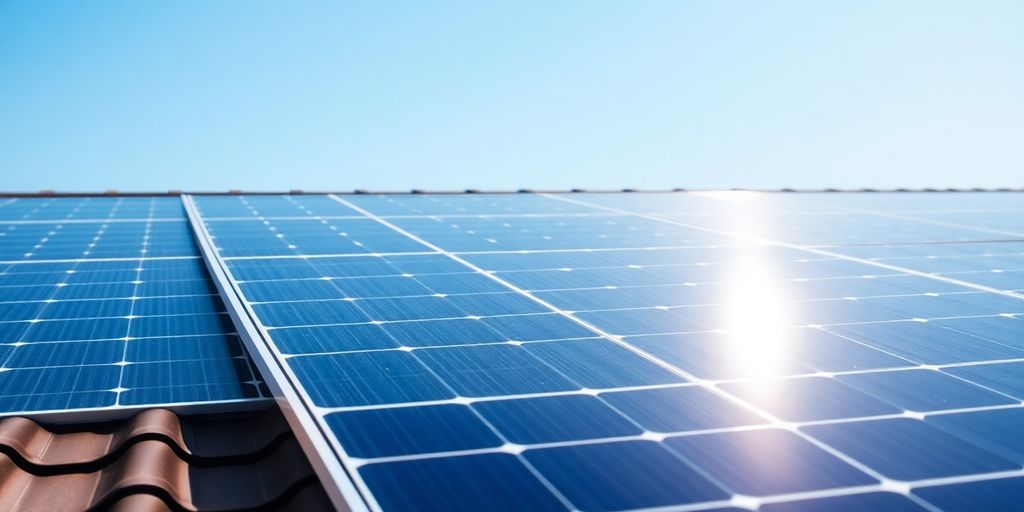
When it comes to mounting solar panels on your roof, there are several techniques that installers might use. The most common method is the use of a racking system. Racking involves attaching a frame to your roof to hold the solar panels securely in place. This method is preferred because it allows for proper ventilation and prevents overheating of the panels. Another technique is the use of ballast mounts, which do not require drilling into the roof and are ideal for flat roofs. This can prevent potential leaks and structural damage. However, ballast mounts are heavier and may not be suitable for all roof types.
Ground Mounting Options
If your roof isn’t suitable for solar panels, ground mounting is an alternative. This involves installing panels on a metal frame on your property. Ground-mounted systems can be adjusted for optimal sun exposure and are often easier to maintain and clean. They can also be expanded more easily than roof-mounted systems. However, they require more space and can be more expensive to install due to additional materials and labor.
Safety Precautions During Installation
Safety during solar panel installation is critical. Installers must follow strict safety protocols to prevent accidents. This includes using harnesses and helmets when working at heights, and ensuring all electrical components are properly installed and grounded. It’s crucial to turn off electricity during installation to avoid shocks. Installers should also be aware of weather conditions, as rain or snow can make surfaces slippery and dangerous. Regular safety checks and following manufacturer guidelines can mitigate risks and ensure a smooth installation process.
Connecting Your Solar System to the Grid
Understanding Net Metering
Net metering is a billing mechanism that allows solar panel owners to feed excess electricity back to the grid. It can significantly reduce your electricity bill. When your solar panels generate more energy than your home uses, the surplus is sent to the grid, and you receive credits. During times when your solar production is low, like at night, you can use these credits to offset the power you draw from the grid.
Navigating Permits and Approvals
Before connecting your solar system to the grid, you need to secure the necessary permits and approvals. Here’s a basic rundown:
- Contact your local government to understand the specific requirements for solar installations in your area.
- Submit an application with your utility company, detailing your solar system’s capacity and design.
- Schedule an inspection to ensure your system meets all safety and regulatory standards.
The approval process can take some time, so it’s best to start early.
Scheduling an Inspection
Once your solar panels are installed, an inspection is required to ensure everything is up to code. The inspector will check:
- Electrical connections and safety devices.
- Proper installation of the panels and inverters.
- Compliance with local and national electrical codes.
After passing the inspection, your utility company will install a new meter that can track both the electricity you consume and the excess you send back to the grid.
Connecting your solar system to the grid is a crucial step to harnessing the full benefits of solar energy. Make sure to follow all guidelines and work with professionals to ensure a smooth process.
Maintaining Your Solar Panel System
Cleaning and Upkeep
Keeping your solar panels clean is key to their efficiency. Dust, leaves, and bird droppings can block sunlight, reducing power output. Here’s what you can do:
- Regularly inspect panels for dirt and debris.
- Use a soft brush or a hose to clean them gently. Avoid pressure washers as they can damage the panels.
- Schedule cleaning during early morning or late afternoon to prevent water spots from forming on hot panels.
Regular maintenance not only boosts efficiency but can also extend the lifespan of your solar panels.
Monitoring System Performance
To ensure your solar setup is working optimally, you should keep an eye on its performance. Here are some steps:
- Install a solar monitoring system if you don’t have one. It helps track energy production and detect any drop in performance.
- Compare current performance data with past records to spot any irregularities.
- Contact your installer or a professional if you notice any significant performance drops.
Troubleshooting Common Issues
Even well-maintained systems can face issues. Here’s how to tackle common problems:
- Inverter Issues: Check for error messages or warning lights. Reset the inverter if needed.
- Wiring Problems: Look for any visible damage or loose connections.
- Shading: Ensure no new obstructions are blocking sunlight, like growing trees or new constructions.
If problems persist, don’t hesitate to call a professional for a thorough inspection.
Wrapping It Up: Your Solar Journey
So, there you have it! Installing solar panels might seem like a big task, but with the right planning and a bit of patience, it’s totally doable. Remember, while DIY can be tempting, getting a pro involved is usually the safer bet. They know the ins and outs, and it can save you from headaches down the road. Plus, once those panels are up and running, you’ll be reaping the benefits of clean energy and lower bills. It’s a win-win! Whether you’re looking to cut costs or just do your part for the planet, solar panels are a solid choice. Happy solar journey!